Rangoli Designs Easy Beautiful Video
Want to try making rangoli designs all by yourself? Watch these interesting videos on How to make Rangoli Designs step by step & try them out on wedding events!

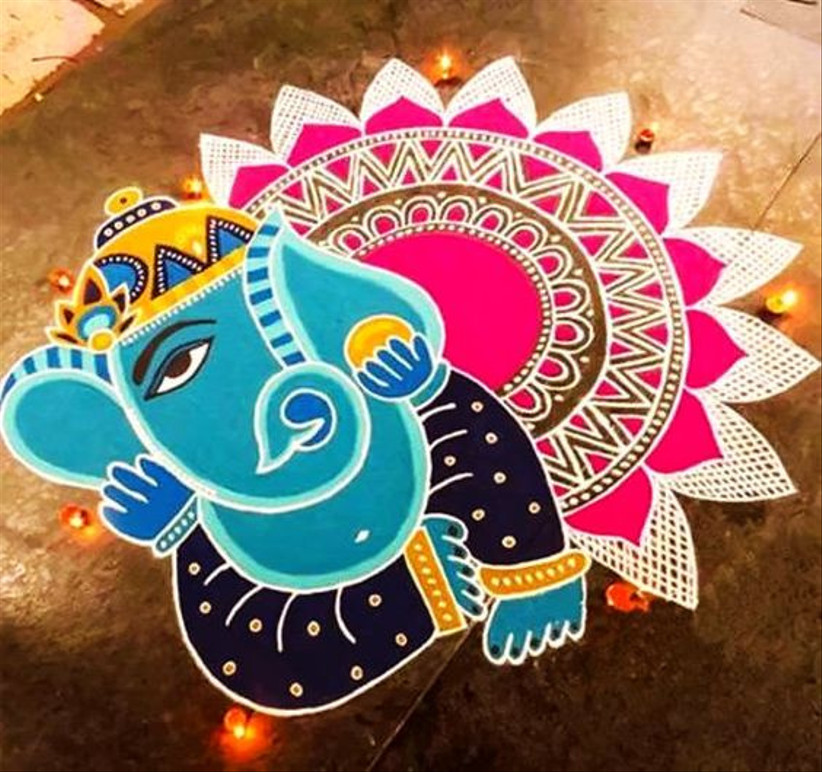
Image Credits - Pinterest
You must have swooned over numerous rangoli designs on weddings and festivals. Did you ever feel like creating one by yourself? But they look like a lot of work and effort, right? Well, of course, designing a gorgeous Rangoli needs a substantial amount of hard work, skillset and patience.

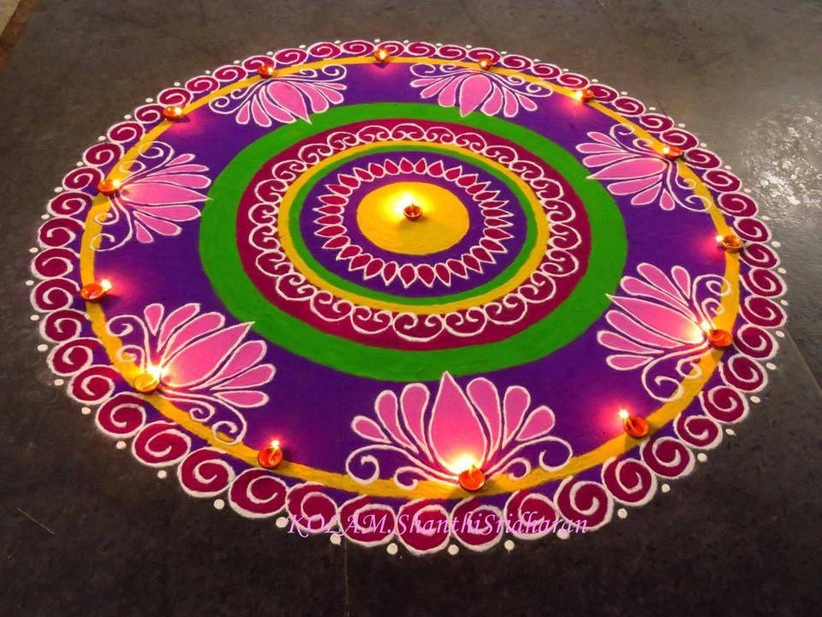
Image Courtesy: Shanthi Sridharan Kolam
But it's not like they're totally impossible to attain! With the proper guidance and helpful hacks, you can now learn how to make Rangoli designs step by step, just like the pros! Intrigued to know more? Here are some amazing videos showing smart ways to create beautiful Rangoli designsi. Watch and learn how to make Rangoli designs step by step on floor !
Easy Rangoli Design for Diwali
Here we have shown some tutorials on how to make simple and small Rangoli designs with paper cones, kitchen utensils, dots and tubes. These Rangoli designs are easy to make with some simple steps and procedure. Watch these videos to know how to draw rangoli with some really easy and quick steps.
Simple Rangoli Designs and Patterns with Paper Cone
Here is a great video that gives you some insight on how to make Rangoli designs step by step using paper cones. Along with the paper cones, there are some other interesting objects you can use for making different designs. Here is how:
Things you need for simple Rangoli designs step by step :
- 3-4 Paper cones, depending on the number of colors you're using for your Rangoli.
- Colour powder.
- Old Bangles
- Circular box caps of different sizes.
- A pencil, pen or any stick-shaped object.
- Different colours of powder.
How to make rangoli designs step by step using paper cone:
- Take 3-4 paper sheets and make cones with an open end. Staple the sides so that the powder doesn't fall off.
- Fill different cones with a different colour of rangoli powder.
- Use the tile lines on your floor as a reference. Start pouring rangoli powder in small shapes like lines, dots, circles along the floor lines.
- For a circular rangoli pattern, place the larger box cap at the centre and pour rangoli powder all around it.
- Use the pencil or stick to uniformly draw small lines coming out of the circle.
- Use different sizes of caps and bangles as stencils and keep drawing along them. Dots, arcs, lines...use your imagination for different shapes and assign different colours to each.
How to make simple rangoli designs step by step with kitchen utensils
And you thought you needed some really high-end tools to make artistic rangoli designs! Some of the most stunning rangolis can be created using the simplest household objects. Like kitchen utensils! Know how to make Rangoli designs step by step using your kitchen stuff:
Things you need for simple Rangoli designs step by step :
- Stainless steel smooth plate with high edges (like shown in the video).
- Stainless steel smooth bowls with sharp edges.
- A tea strainer.
- Pencil.
- Rangoli powder.
How to make rangoli designs step by step using utensils:
- Place the large stainless steel plate on the floor. Using it as a stencil, draw a circle with a pencil.
- Pour one colour of rangoli powder all along the circumference.
- Take one small sharp-edged bowl and push the large circle bit by bit with it, making small arches all around.
- Again place the large plate at the centre.
- Now using a tea strainer, fill up the small arcs with colour. The large plate will restrict the colour from getting inside the large circle.
- Use the small bowl for making further smaller circles and arcs expanding the rangoli outwards.
- You cal also use your finger to make small holes inside the filled arc and use a different colour for the holes.
- Draw a swastika or Om or any of your preferred symbol right at the centre of the rangoli.
Simple Rangoli Designs through dots
This is another simple trick to learn how to make rangoli design step by step. All you need is to draw dots and join them to create kolam rangoli patterns. However, it would help if you already have a knack of painting. Take a look:
Things you need for simple rangoli designs step by step :
- White powder.
- Dark floor.
How to make rangoli designs step by step by joining dots:
- Draw dots uniformly scattered all over the floor forming a preferred shape (square, rhombus or rectangular).
- Using the dots as a reference, keep joining them forming different shapes. For example, a circle, leaves, vines, flowers etc.
- You can decide whatever shape or object you want to make out of the dots.
- Keep joining them keeping in mind they make some patterns.
- In the end, fill up some shapes to give it a final touch.
Simple Rangoli Designs by Tubes
This video will actually inspire you to make one rangoli right now because it makes things look really simple. Watch it and read about how to make rangoli designs step by step with the use of tubes:
Things you need for simple rangoli designs step by step :
- Rangoli tubes
- Bangles.
- Earbuds.
Simple rangoli designs step by step by using tubes:
- Place a circular box cap to use it as a stencil.
- Use the tube to squeeze out white rangoli colour along the circle. Make 12 equal dots to cover the whole circumference.
- Press with your finger in each dot to make holes. Fill contrasting blue colour inside the holes.
- Now place an old bangle inside the circle and follow the same procedure to draw equal blue dots inside the bangle.
- Remove the bangle. Using your finger, push the blue dots outwards to touch the bigger circle. This way there will be arcs made out of the dots.
- Fill up the tips.
- Use earbuds to smudge the fills a little to acquire different shapes.
- Use your imagination to keep expanding the circle until you attain a desirable size.
Creative Rangoli Patterns
There are different kinds of creative patterns in Rangoli. These patterns are popular during the festivities like Diwali, Rakhi, Bhaiyaduj and Greh Pravesh. Here let's delve into how to draw Rangoli with interesting patterns. These designs can be made in the weddings too.
Mandala Rangoli Pattern - Rangoli Design Drawing
This Rangoli design drawing is called the Mandala Rangoli Pattern. It is also called as Sanskar Rangoli Bharti Design and Galicha Rangoli too. Here the Rangoli designer has shown an easy step by step procedure on how to make this Rangoli design.
Things you need for Mandala Rangoli Design Pattern :
- Chalks, White Chalk Powder
- Strainer
- Rangoli Colors
Mandala Rangoli Design- step by step procedure:
- Create Round patterns of different sizes with chalk powder
- Fill the inner circle with semi circles in the border.
- Further create more semicircles inside it to create a beautiful design
- Now create straight lines inside the second last circle with the chalk powder.
- Continue the process as shown in the video and then create petals inside the second circle.
- Now fill the inner formed design with rangoli colours.
- You can take the help of the tea strainer to fill the bigger spaces.
- Now compress the small circles to exhibit your creativity.
- Finally create linear patterns with chalk powder in the outer circles and explore your inventiveness.
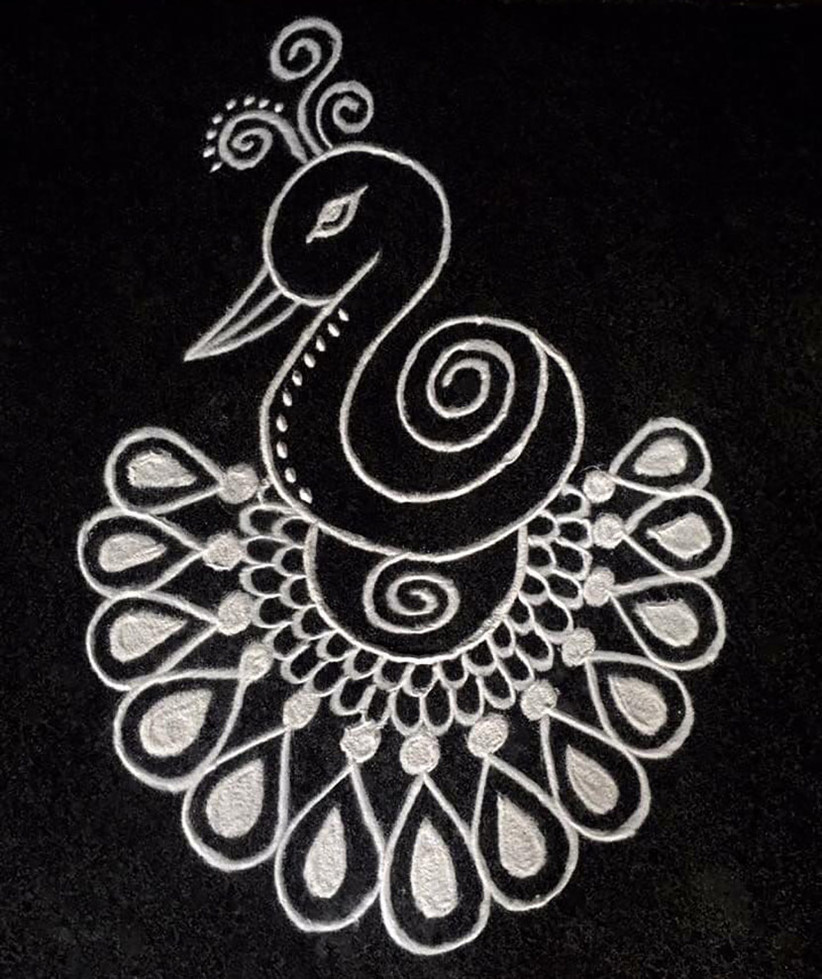
Peacock Rangoli Design with Different Patterns - Rangoli Design Drawing
This Rangoli design drawing is called Peacock Rangoli design with different patterns. This design is famous in various festivals and Girah Parvesh ceremonies too. This simple Rangoli design is popular as peacock is considered lucky for the new beginnings. Also, the beauty of peacock elevates the festive fervor in Indian Households,
Things you need for Peacock Rangoli Design Drawing
- A big strainer.
- A small bangle
- Rangoli Color Tubes
- A pen
- Rangoli Colours
- Chalk Powder
- A small spoon
- Some tea lights for decoration.
Peacock Rangoli Designs- step by step procedure :
- Take a big round strainer and outline the inner part with some rangoli colours.
- After the circle is done - then place a small bangle inside the big circle.
- Pour Rangoli colors outside the bangle in round patterns with help of a rangoli colour tube.
- Now remove the bangle and extend the circles into linear pattern with help of a pen.
- Again pour colors in a circular manner and then convert those in a linear way with help of a pen.
- Now create flowers and peacock with same creativity.
- Press those circles to give a creative angle to it.
- Use pens to create patterns around the flowers and peacock.
- Now decorate your rangoli with diyas around it.
Flowers Rangoli Patterns - Rangoli Design Drawing
Flowers can beautify anything! Yes be it your hairstyle, décor or Rangoli- it elevates the aura of home. So here some interesting Floral rangoli designs and Rangoli patterns to light up your surroundings. Read here-
Things you need for Floral Rangoli Pattern Design Drawing -
- We need different types of real flowers. For example - Rose, Sunflower, Marigold etc.
- Flower Pets.
- Real Leaves.
Floral Rangoli Pattern Designs - step by step procedure :
- Lay some fresh flowers in a circle.
- Now take some loose petals and lay it in a leaf shaped pattern.
- You can fill this design with some real leaves.
- You can follow Rangoli pattern to form a big flower
- Now outline the big flower with some rose petals.
- Now fill leaves to fill the empty space.
Rangoli Pattern with Flowers, Leaves and Pots
This simple Rangoli design is made with flower petals, leaves and earthen pots. This Rangoli Design is usually made in festivals like Makar Sankranti. It is really simple and easy to make with some easy steps.
Things you need for Rangoli Pattern with Flowers, Earthen Pot and Leaves
- A chalk for the outline.
- Leave Shaped Stencil.
- Earthen Pots
- Fevicol
- Rangoli Colors
- Some real green leaves and flower petals.
Floral Rangoli Pattern Design - step by step procedure:
- Make a huge Flower with help of a white chalk.
- Fill the center of the flower with earthen pots. Paint the earthen pots with the glitters before placing it in the center.
- Now fill the core of the flower with yellow flower petals.
- Place leaves around the outline of the small circle inside the flower
- Fill the flower petals with green leaves.
- Fill the outer circle with white flowers
- To exude your creativity- place flowers in between the petals.
- Now give an outline to the flower with orange flower petals.
Read More -9 Beautiful Flower Rangoli Designs for Your Wedding Venue

Small Simple Rangoli Patterns
These small pattern Rangoli Designs are made in the festive season around Diwali and Durga Puja. Now let's see how to make Rangoli in an easy way.
Things you need for Small Simple Rangoli Pattern
- Rangoli Design Colours
- Matchsticks
Rangoli Pattern Designs - step by step procedure :
- Pour Rangoli Colours on the floor and then press the colours to form flower shapes.
- Whenever required use a matchstick to elongate the border and the outline.
- Similarly create two more flowers with similar colors and patterns.
Also Read - Kolam Designs: Simple Kolam Handpicked Rangoli for Tamil Weddings
Easy Rangoli Drawing with Swastik
This simple rangoli patterns is called swastika rangoli. It drawn usually on pujas and satsangs at the home entrance only. Scroll down to read the step bt step guide.
Things you need for Simple Small Rangoli Pattern
- Rangoli Design Colors
- Plastic Folk
Rangoli Pattern Design - step by step procedure:
- Make swastikas' symbol on the floor from a chalk piece.
- Top it with red color dots
- Now with the help of folk spread those dots in linear pattern
- Now design small flowers inside the empty space near the swastika.
- You can further show your creativity by making leave on the borders.
Easy Rangoli Drawing with Combs
These combs can do wonders to your Rangoli design. Check to know how to make this design in a conventional yet beautiful way.
Things you need for Small Simple Rangoli Pattern
- Hair Combs
- Rangoli Colors
- Black Marker
- Round small tea strainer
- A small round plate
- Semicircle tubes
Step by step procedure :
- Take four combs and keep it in square shape as shown in the video.
- Pour blue Rangoli colour over the comb and then remove the comb.
- Draw circle inside the square with help of the strainer and small plate
- Now fill the inside part of the square with white rangoli powder and then the pink dots.
- Now press the dots with a black marker.
- Pour red color whilst making dots in the smallest circle.
- Press the red dot to form a perfect flower.
- Now fill those red dots with pink colour.
- Now make lines inside the smallest circle flower with a pen. Fill the smallest circle with the blue color.
- Make a semi circle on the borders with the help of semicircle tubes.
- Further, fill the semicircle with petal design and pour pink colour on it.
- Repeat this on all the sides.
- Further make flowers in between them by pressing those designs with the fingers.
- Similarly draw other designs with the same concept as shown in the video.
Easy Simple Rangoli Designs in Square Pattern
Things you need for Easy Simple Rangoli Designs in Square Pattern
- Rangoli Colours
- White Chalk
- Bangles
Small Simple Rangoli Design in Square Pattern -Step by Step Guide :
- Make a square border with white chalk.
- Fill the square with the green colour
- Make white dots around the border with white Rangoli color
- Now draw white lines with a stick to create a diagonal pattern
- Now make a small circle in the center.
- Take four bangles and make a flower pattern inside those bangles.
- You can further show your creativity by creating leaves on the outline
Easy Rangoli Designs with Rice Grains
Rice is usually used in the Rangoli Design created by South Indian Populace. This kind of Rangoli is usually made in the festivals like Onam and Pongal. Read to know how to make this with easy simple steps.
Things you need for Easy Simple Rangoli Designs with Rice Grains
- White Chalk Design.
- Coloured Rice Grains
- Spoon
Simple Rangoli Design with Rice Grain - Step by Step Procedure
- Make a flower design with white chalk.
- Now fill this design with coloured rice grains.
- Now fill white rice in the empty spaces inside the rangoli.
- You can use a spoon to spread the rice in a perfect manner.
DIY- Easy Ganpati Rangoli Designs
Easy Rangoli Design with A Plate
Things you need for Easy Rangoli Design made with a plate
- 1 empty plate
- Rangoli Colors
- A pen
- Rangoli Colour Tubes
- Small Tea Strainer
Easy Rangoli Design made with a plate - Step by Step Procedure
- Make a circle with help of a plate.
- Make round patterns around the border of the plate with Rangoli Color tubes.
- Remove the plate and fill the circle with yellow colour. You can take help of a strainer too.
- Now make round patterns with green colour around the outline.
- Spread these patterns with spoon to form a leave Design
- Do make lines inside the leave design to make it look real.
- Now make flowers next to these leaves too
- Further create flower design inside the round circle too
Designs For Easy Rangoli Drawing on Paper
These designs are usually made when practicing or when you don't want to spoil your door. All you need is a paper and some sketch pens and you just have to let your creativity flow. .
Hopefully now at least you've got some idea on how to make Rangoli designs step by step. You can try your hands on the upcoming Raksha Bandhan or Diwali. You can try beginning with the simple rangoli designs or Ganpati designs if you want and get to the complex ones eventually. If you don't feel too confident with the rangoli powder, try making floral rangoli designs instead as they're relatively easier to make. Play with colors, experiment with patterns, use household objects as stencils...make your rangoli designing a fun event in the family wedding!

Image Courtesy: Shanthi Sridharan Kolam
Would you like to try making a Rangoli on the upcoming festival? Share your experience with us in the comment section below!
Rangoli Designs Easy Beautiful Video
Source: https://www.weddingwire.in/wedding-tips/how-to-make-rangoli-designs-step-by-step--c7293
Posted by: ellisreem1944.blogspot.com

0 Response to "Rangoli Designs Easy Beautiful Video"
Post a Comment